Pi-hole + Unbound: The Ultimate DNS on Raspberry Pi 5

Today, we’re tackling a big one: taking back total control of our internet requests. We’re going to install Pi-hole (the ad blocker) coupled with Unbound (a recursive DNS resolver). All on my Raspberry Pi 5 8GB. Spoiler: it’s totally overkill (a Pi Zero would suffice), but we love it.
Why are we doing this? (The theory minute)
1. What is a DNS?
Imagine that DNS (Domain Name System) is the phonebook of the Internet. When you type google.com, your computer doesn’t know where it is. It asks a DNS server: “Hey, what is Google’s IP address?”. The server answers 142.250.xxx.xxx, and boom, the page appears.
2. Why a “Recursive” DNS?
By default, your internet box uses your ISP’s DNS (or Google 8.8.8.8). Basically, you’re asking a middleman to search for you. So, they know everything you visit.
With Unbound in recursive mode, we cut out the middleman. Your Raspberry Pi will talk directly to the “Root Servers” (the big bosses of the Internet).
- Privacy: Nobody (not Google, nor your ISP) sees your DNS requests.
- Security: We use DNSSEC to validate that the answers are authentic.
- Zero Ads: Pi-hole filters requests before they even leave.
Step 1: Prepare the beast
We are on a Raspberry Pi 5. Make sure you have Raspberry Pi OS installed and up to date. Open the terminal (or connect via SSH) and run the classic update:
sudo apt update && sudo apt upgrade -yStep 2: Install Pi-hole
The Pi-hole installation is automated. This is the “Network-wide Ad Blocking” that will protect all devices in the house.
curl -sSL https://install.pi-hole.net | bashStep 3: Configure Pi-hole
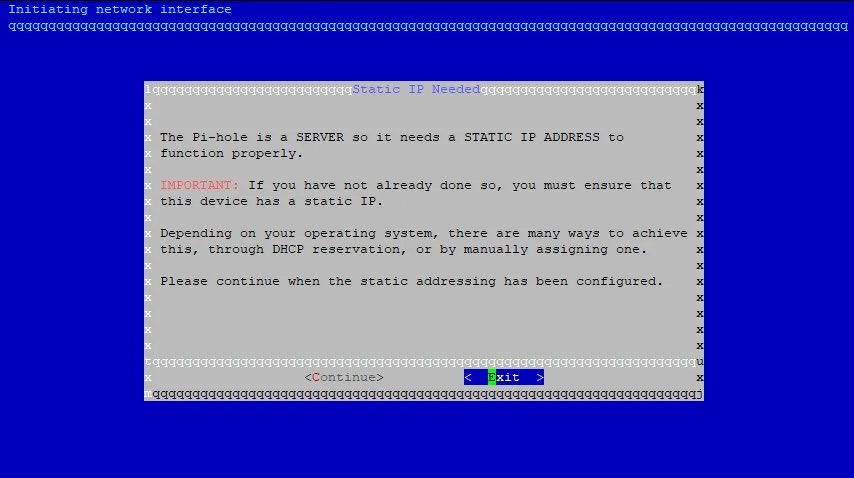
After running the previous command, Pi-hole will automatically install what it needs to function (dependencies, etc.). Then it will ask you to confirm that your Pi has a static IP, click Continue.
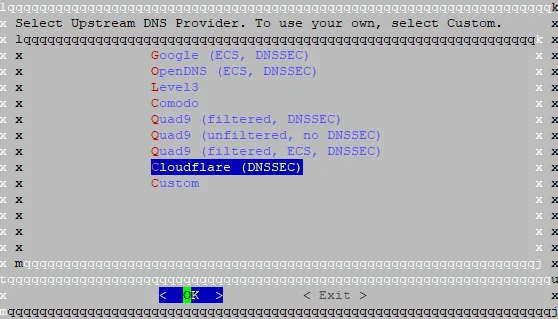
Now you must select an upstream DNS provider (don’t worry, we’ll quickly become our own DNS provider) so that Pi-hole can finish its configuration. Personally, I chose Cloudflare (it’s a matter of 10-15 min).
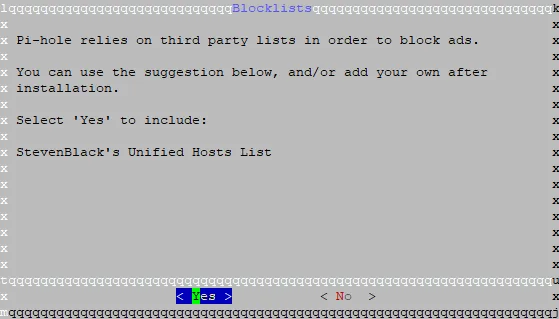
We can now install our first block-list, this one is a recommendation (I recommend it for a first effective block-list). Click Yes.
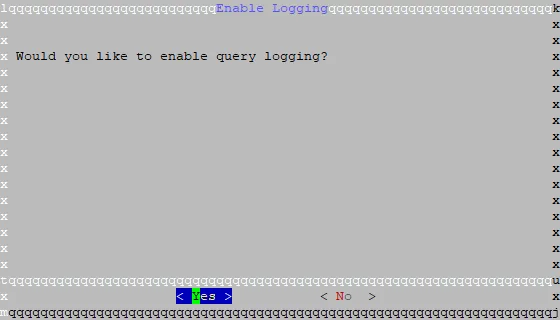
Then, we can (or not) activate the logging of DNS requests, it’s up to you to choose, I vote yes.
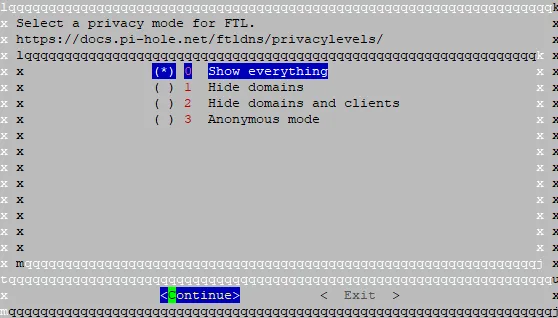
After that, I have to choose what I want to log exactly in the requests, I want everything so I navigate with the arrows to Show everything.
Finally, the configuration is finished, we will be able to connect to the web interface!! (IMPORTANT: write down the password that is displayed for the web page admin account.)
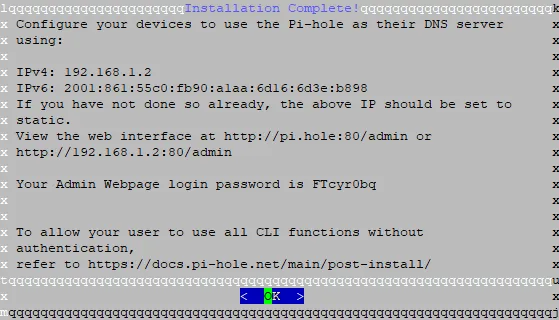
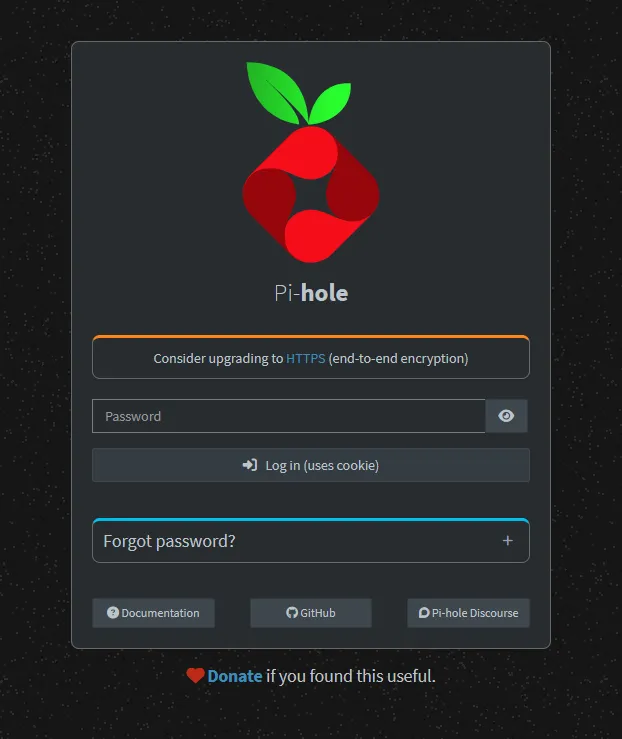
Go to http://ip.of.your.pi/admin/ in your favorite browser and enter the password displayed previously.
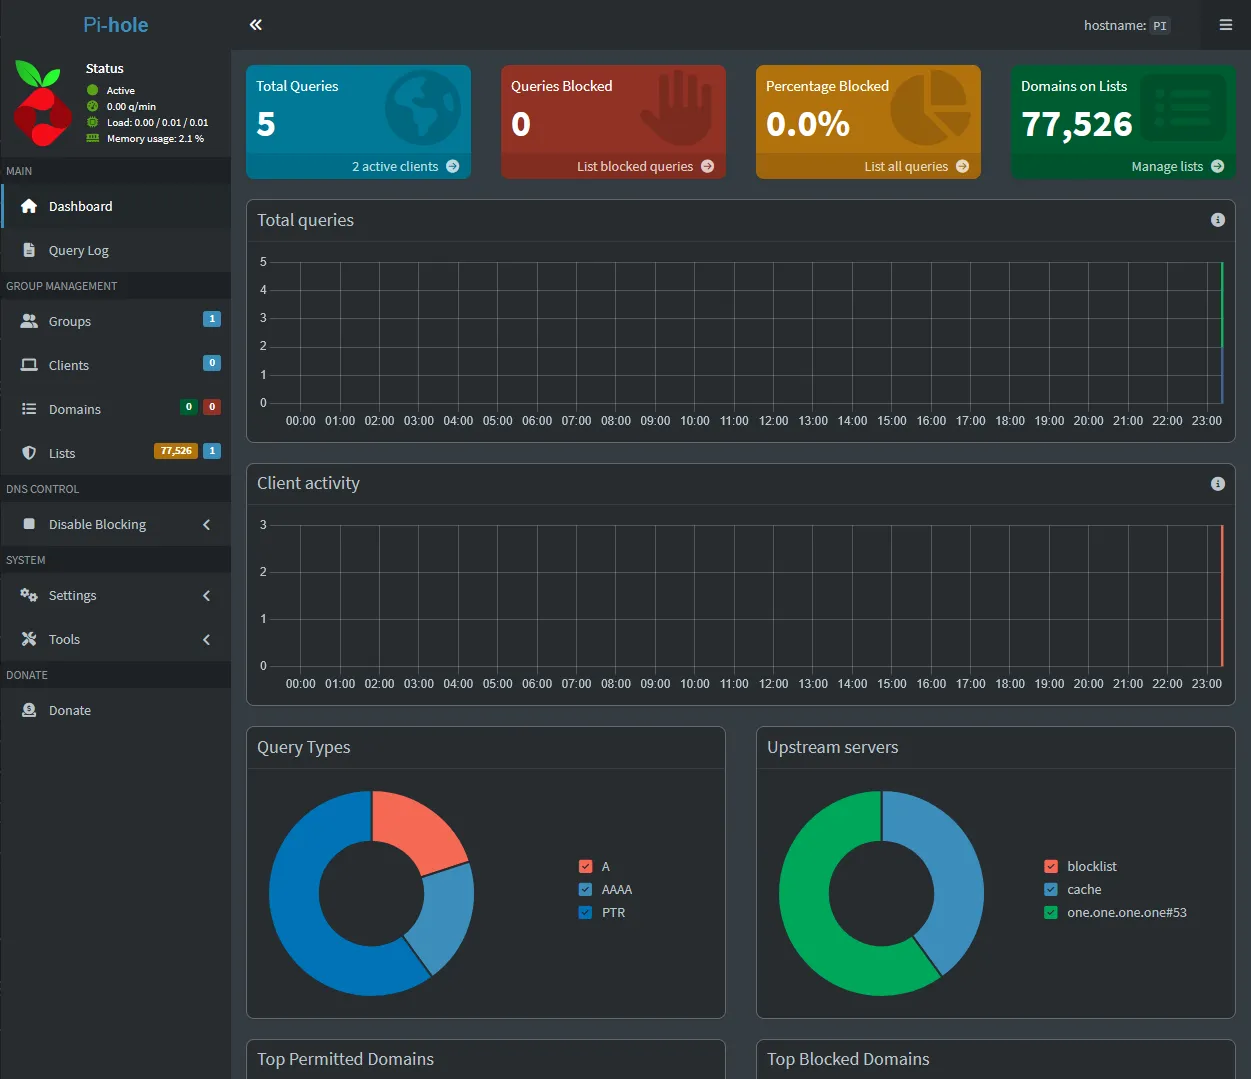
And there you go! Welcome to the administration dashboard of your Pi-hole installation!
Here you will find the total number of DNS requests, the number of blocked requests, the type of requests (A, AAAA, HTTPS, etc…), connected devices, and much more! Feel free to explore!
Step 3: Install Unbound
This is where the magic happens. We install Unbound so we no longer depend on Google’s DNS.
sudo apt install unboundAnd there you go! Your Pi-hole now queries your local Unbound instance. It’s clean, private, and runs perfectly on the Pi 5.